Kubernetes-03-集群搭建
集群搭建类型
minikube
只是一个 K8S 集群模拟器,只有一个节点的集群,只为测试用,master 和 worker 都在一起。裸机安装
至少需要两台机器(主节点、工作节点个一台),需要自己安装 Kubernetes 组件,配置会稍微麻烦点。
缺点:配置麻烦,缺少生态支持,例如负载均衡器、云存储。直接用云平台 Kubernetes
可视化搭建,只需简单几步就可以创建好一个集群。
优点:安装简单,生态齐全,负载均衡器、存储等都给你配套好,简单操作就搞定k3s
安装简单,脚本自动完成。
优点:轻量级,配置要求低,安装简单,生态齐全。
minikube
裸机安装
环境准备
- 节点数量: 3 台虚拟机 centos7
- 硬件配置: 2G或更多的RAM,2个CPU或更多的CPU,硬盘至少30G 以上
- 网络要求: 多个节点之间网络互通,每个节点能访问外网
初始化系统
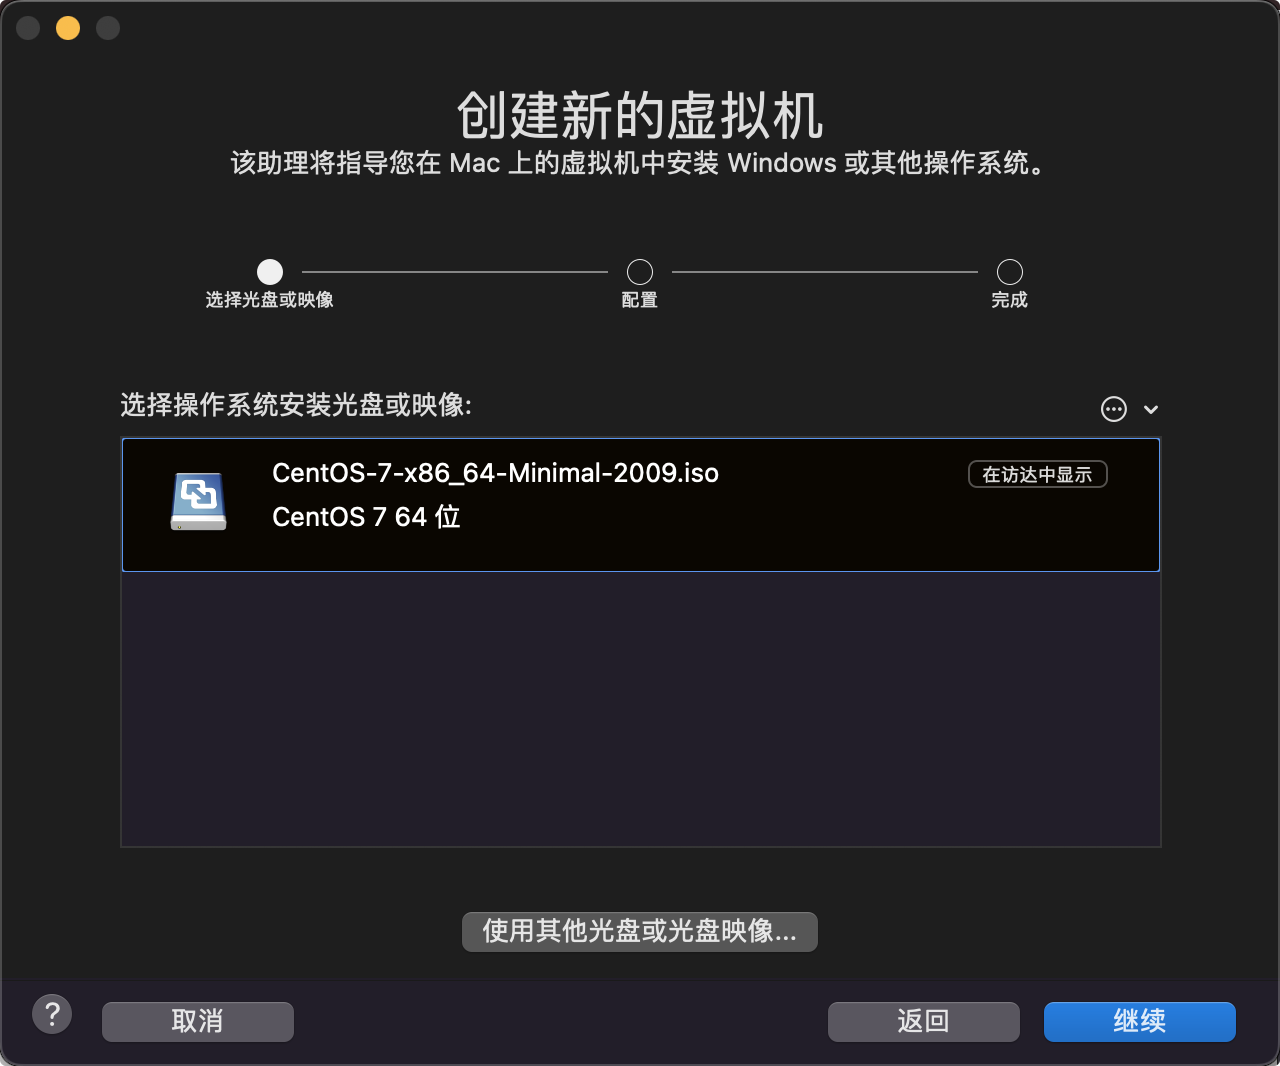
创建虚拟机
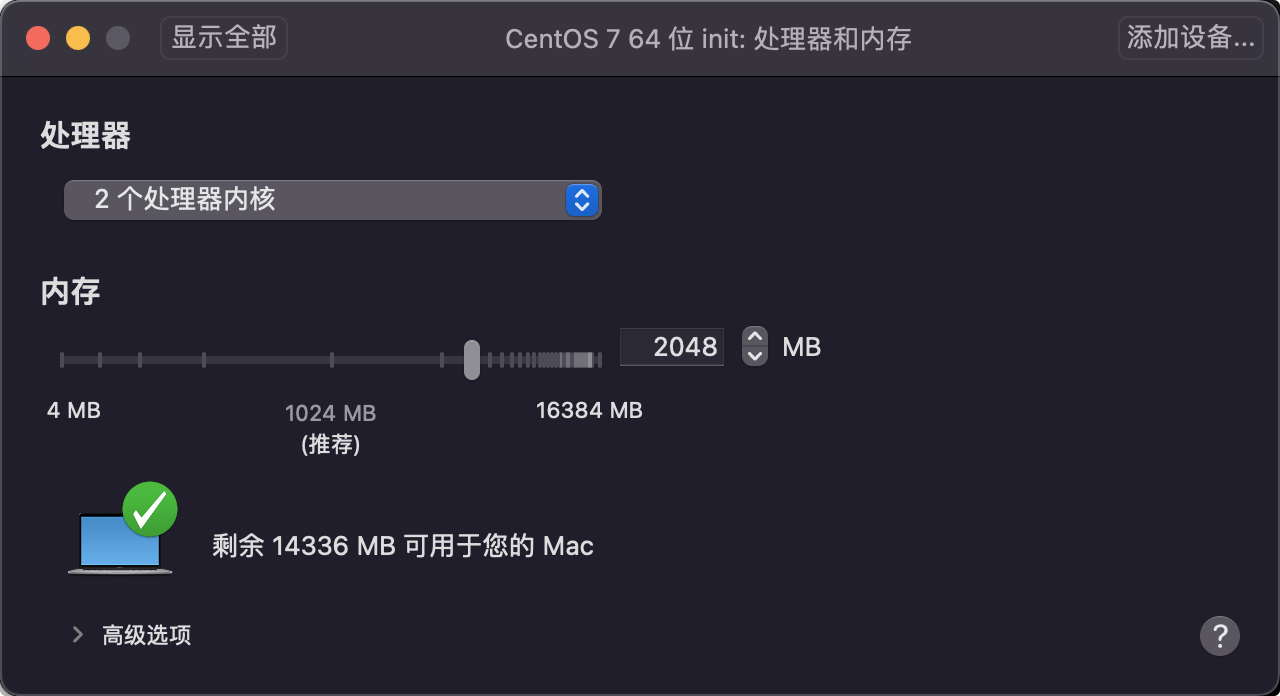
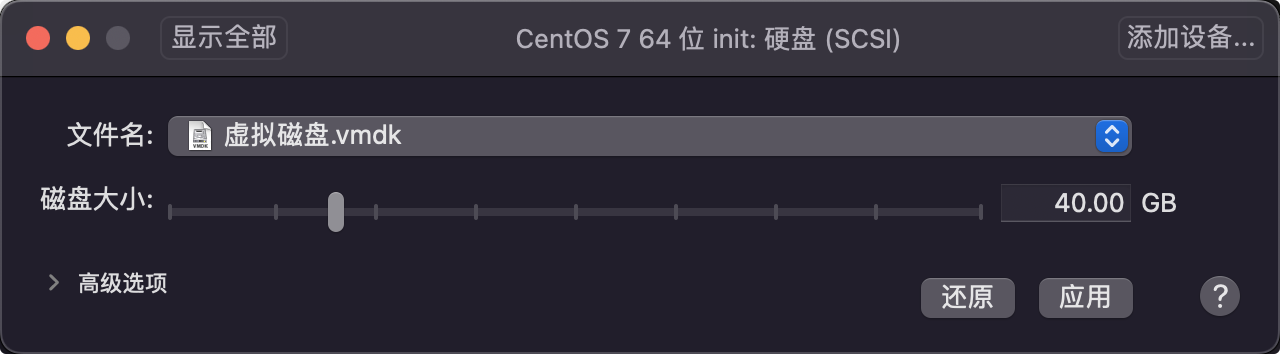
配置cpu 内存 硬盘

网络默认
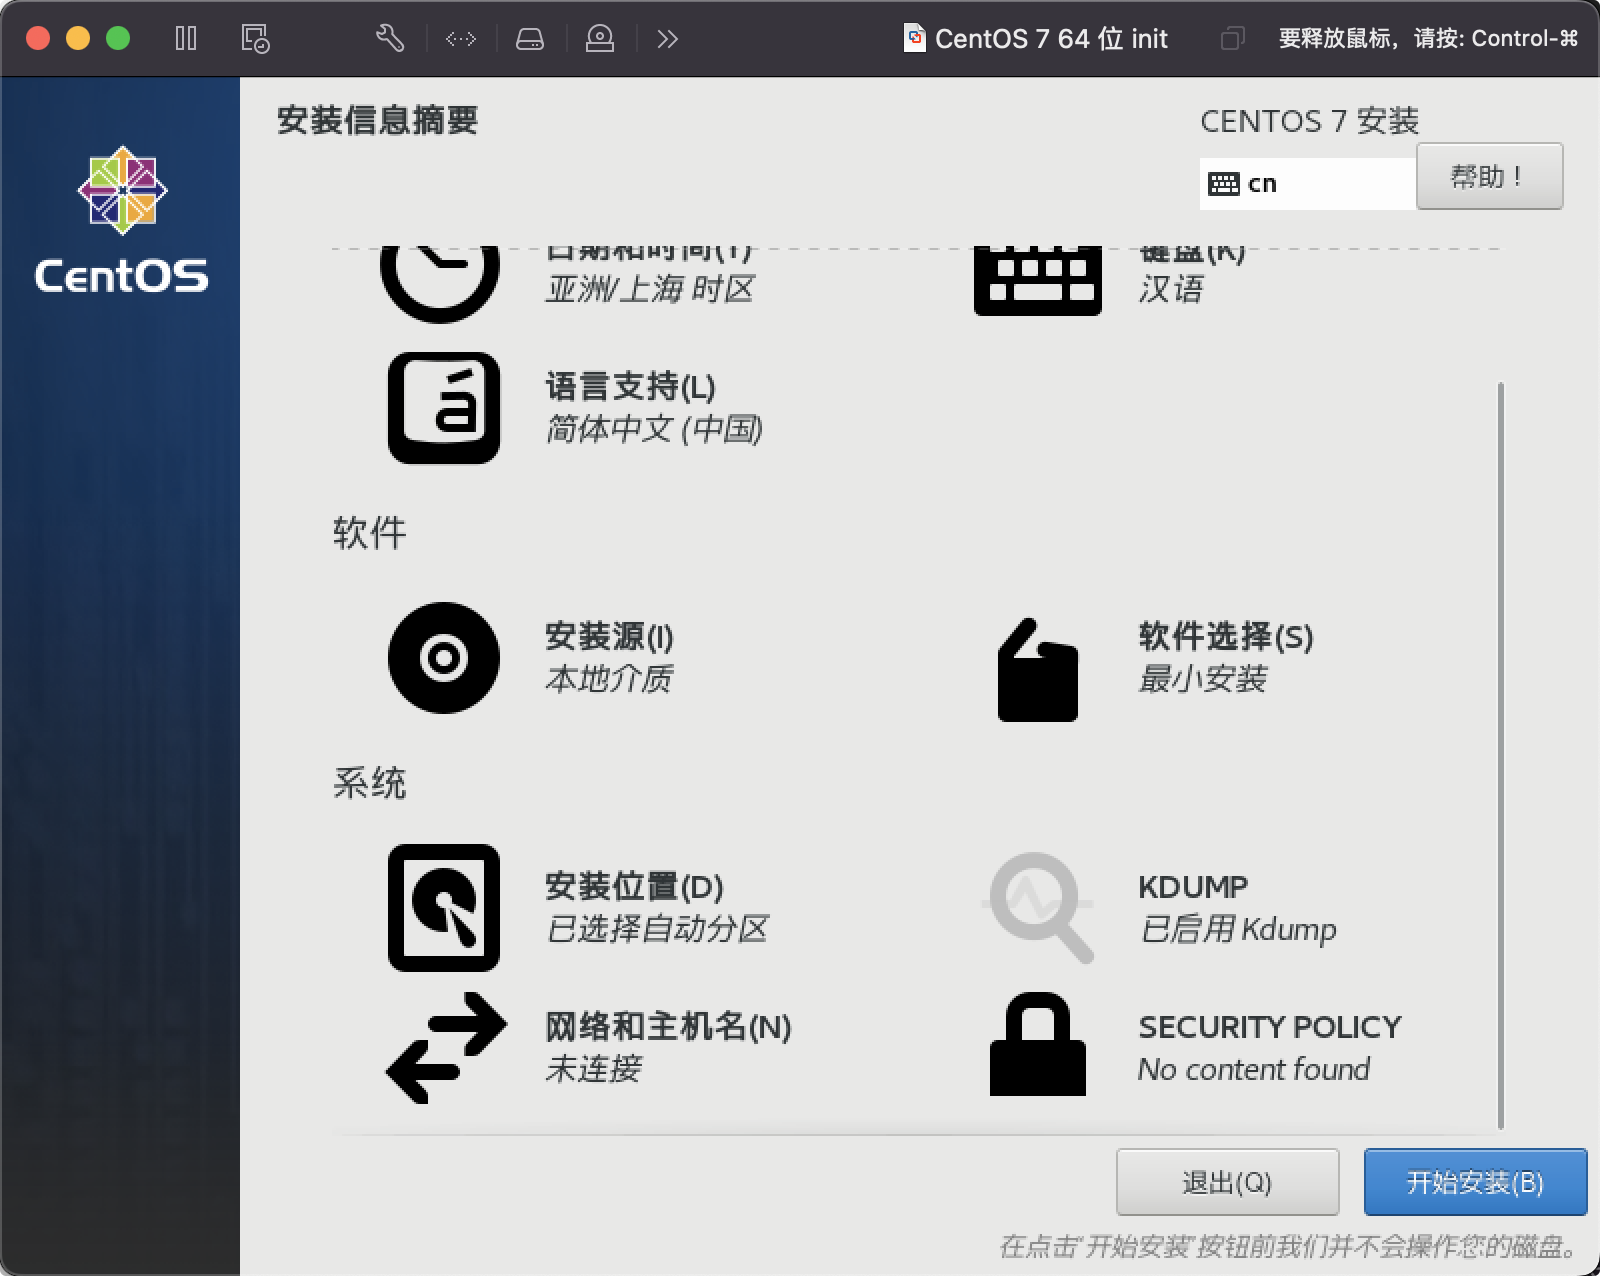
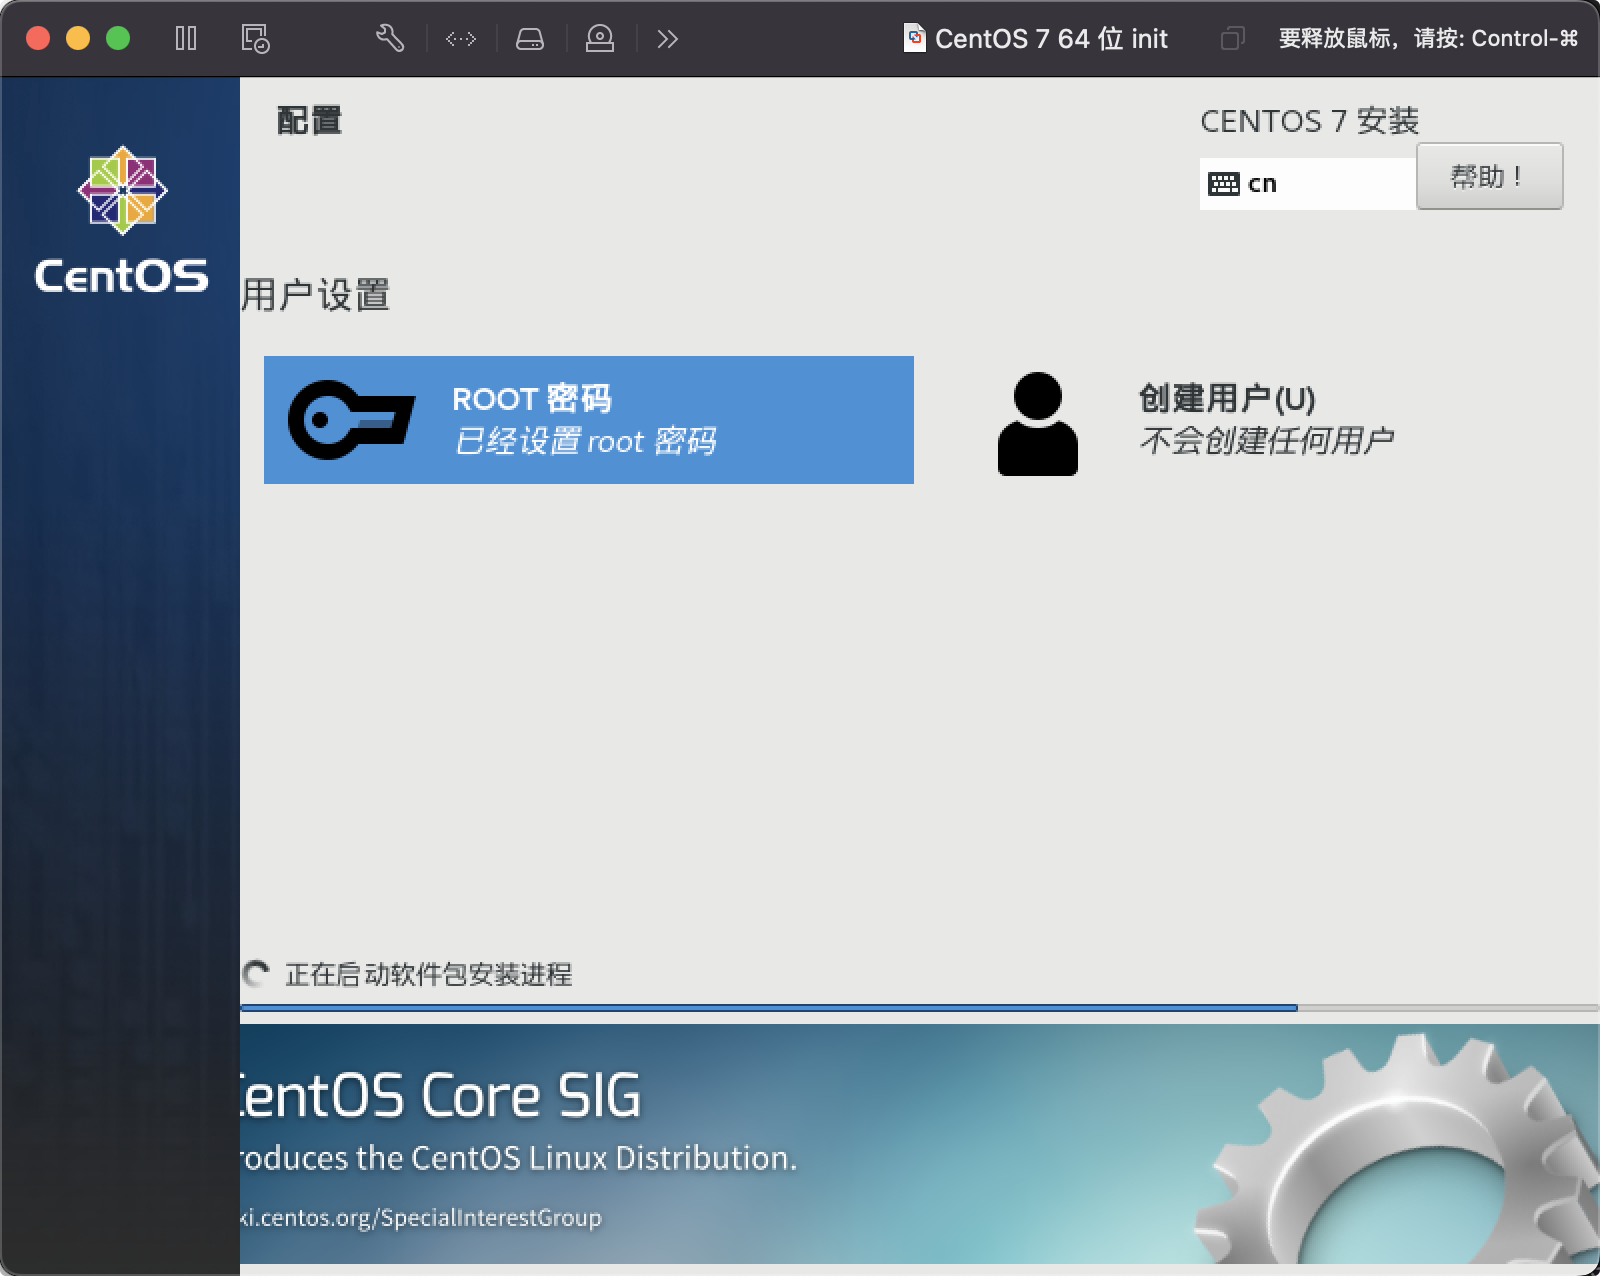
开始安装
启动成功
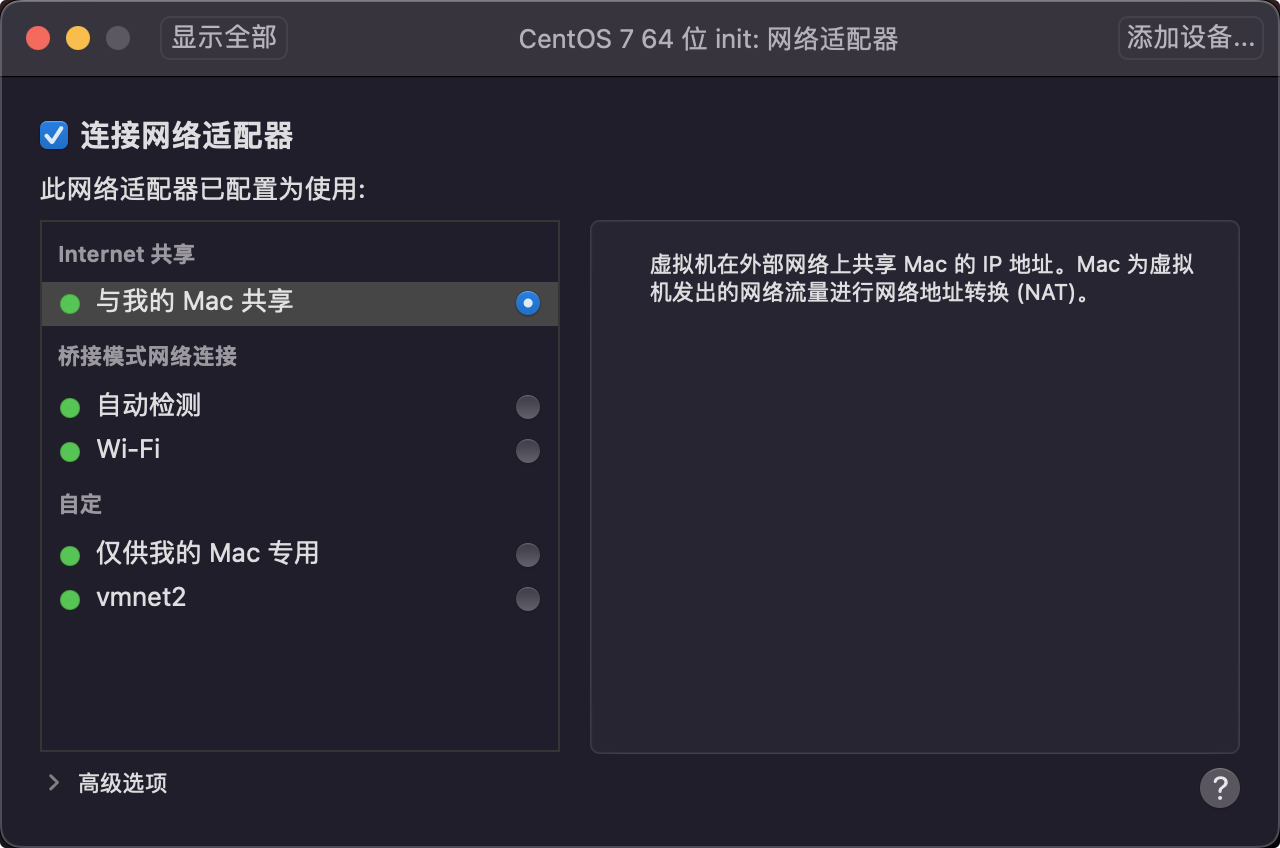
关机新增第二个网卡
设置网络
修改第一个网卡为自定义
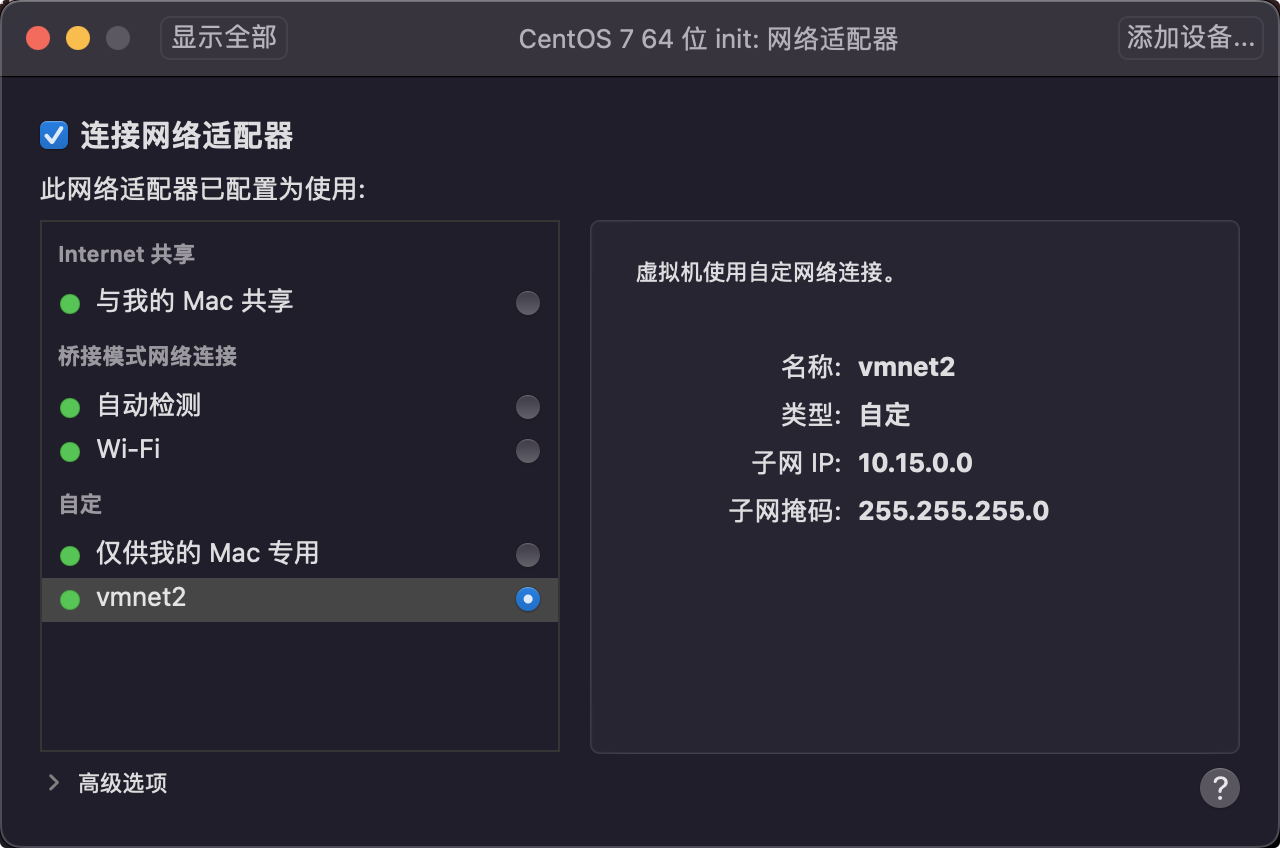
编辑网络
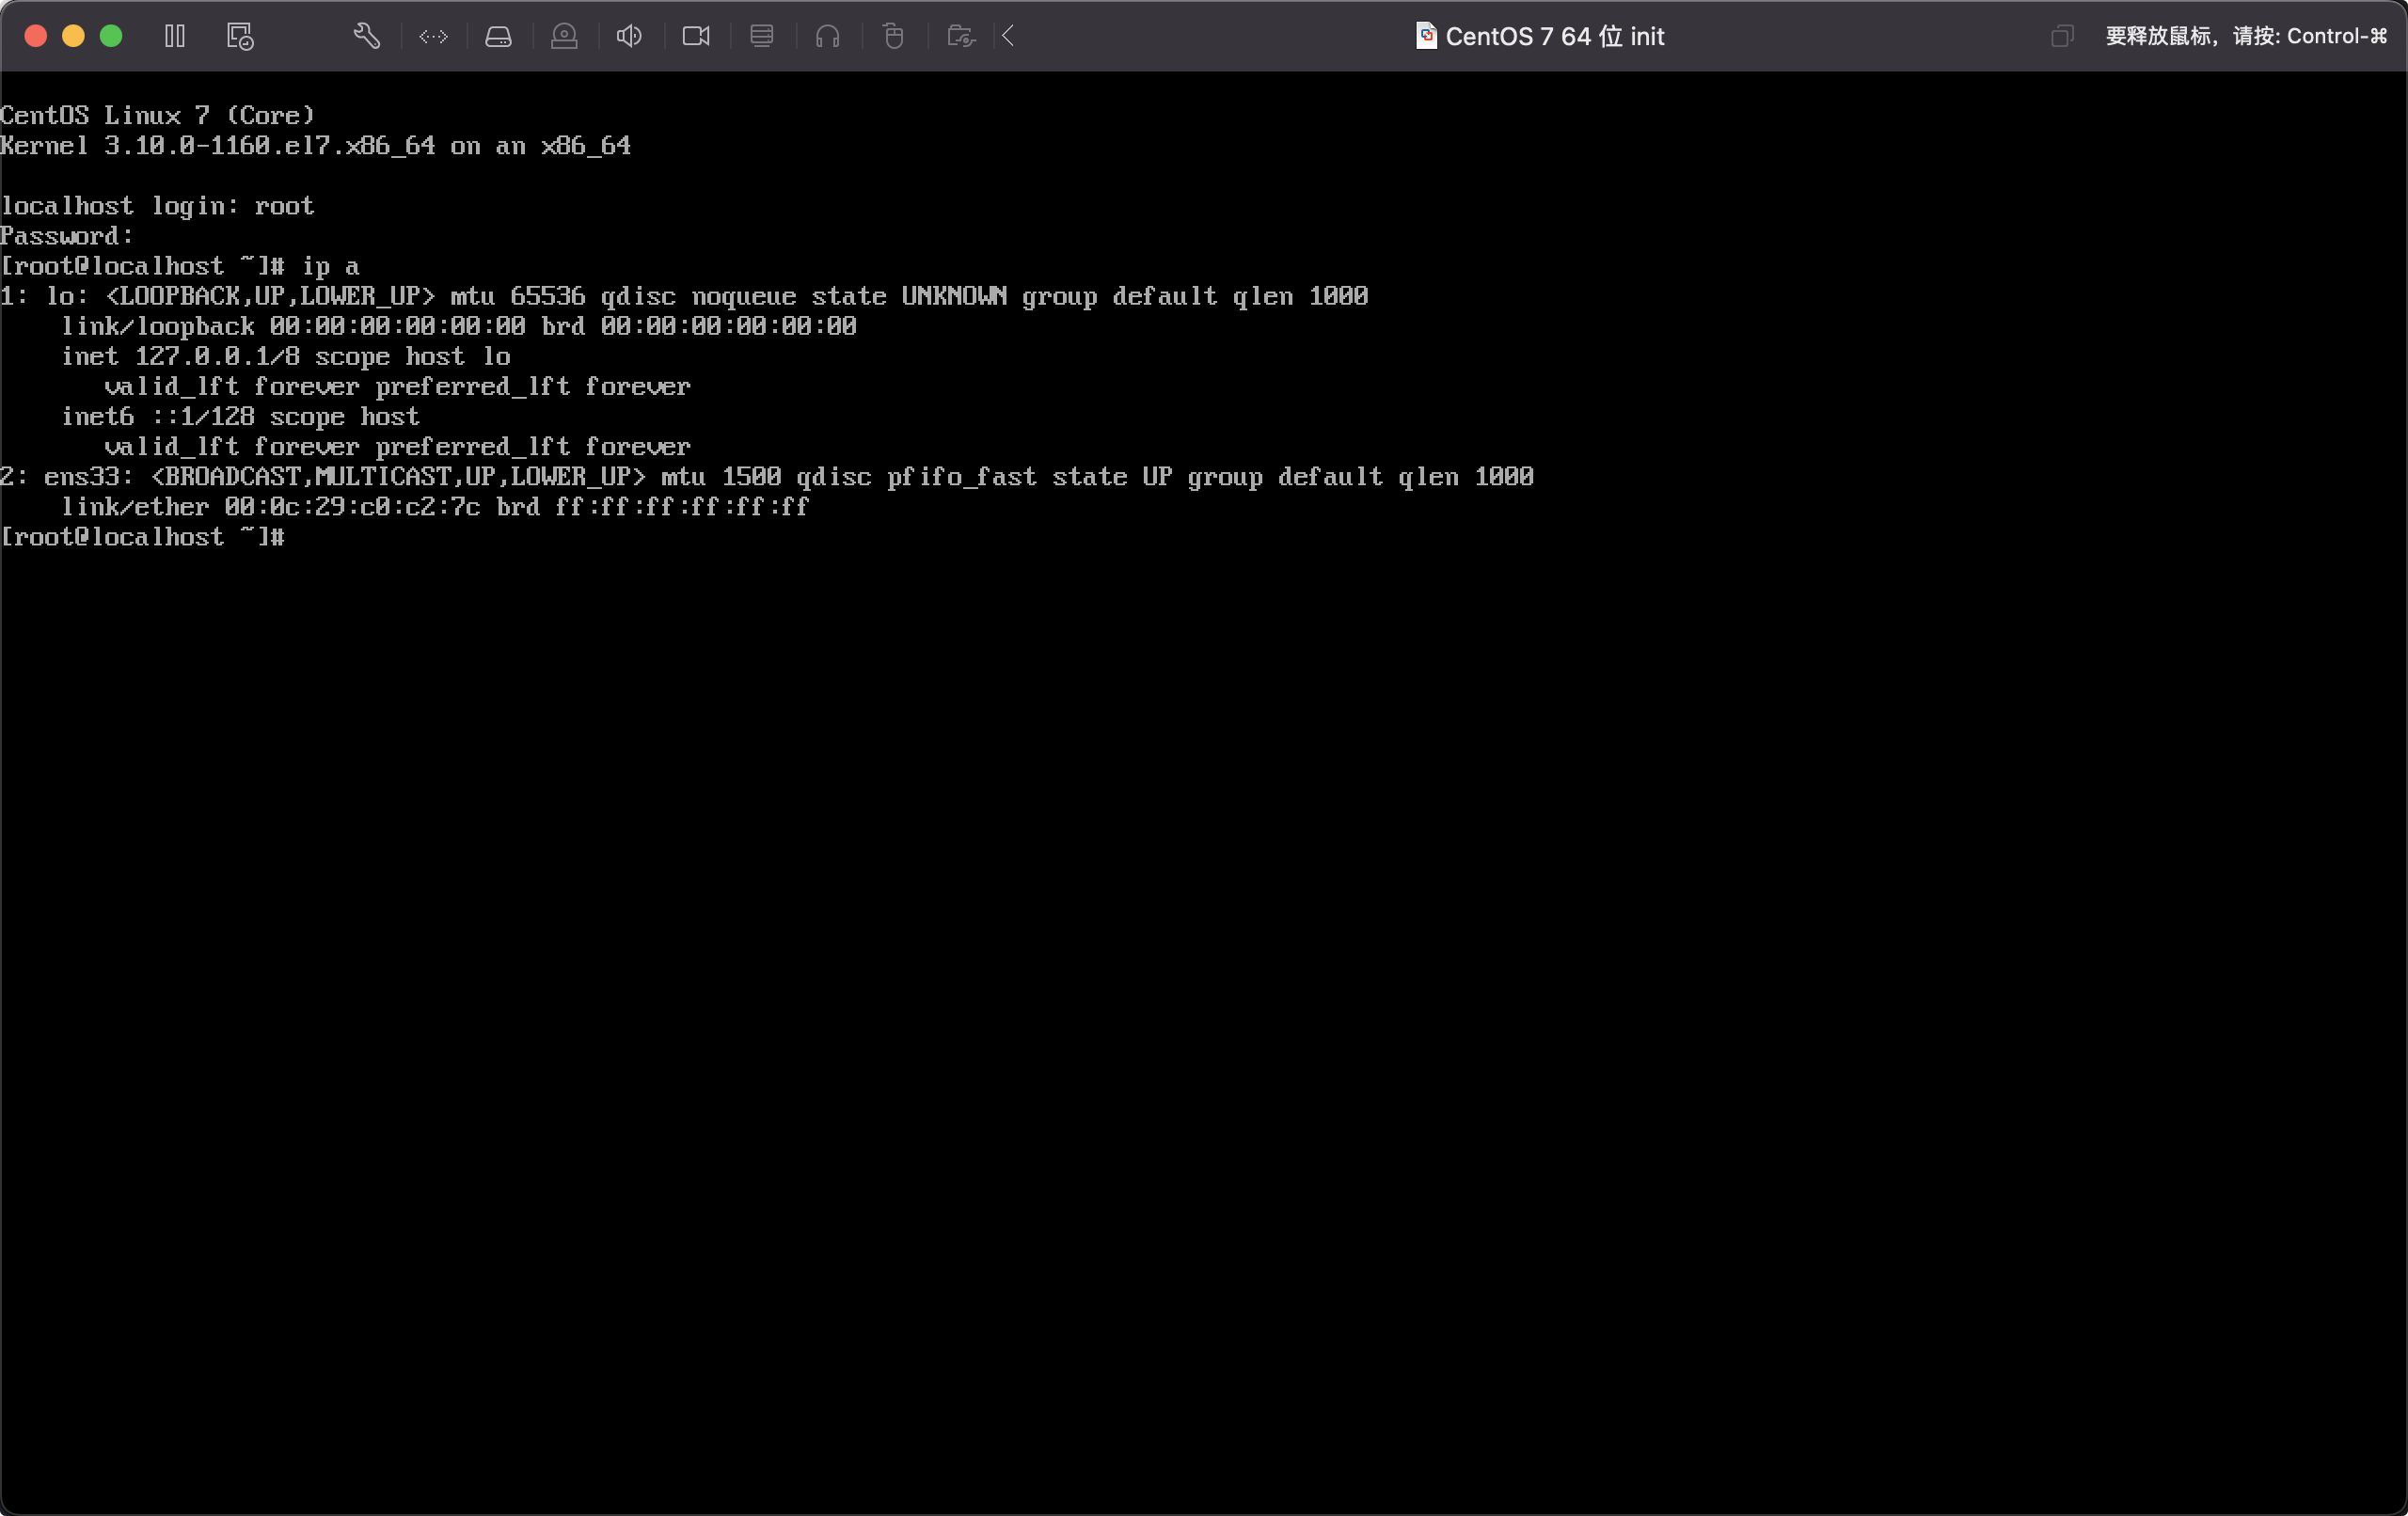
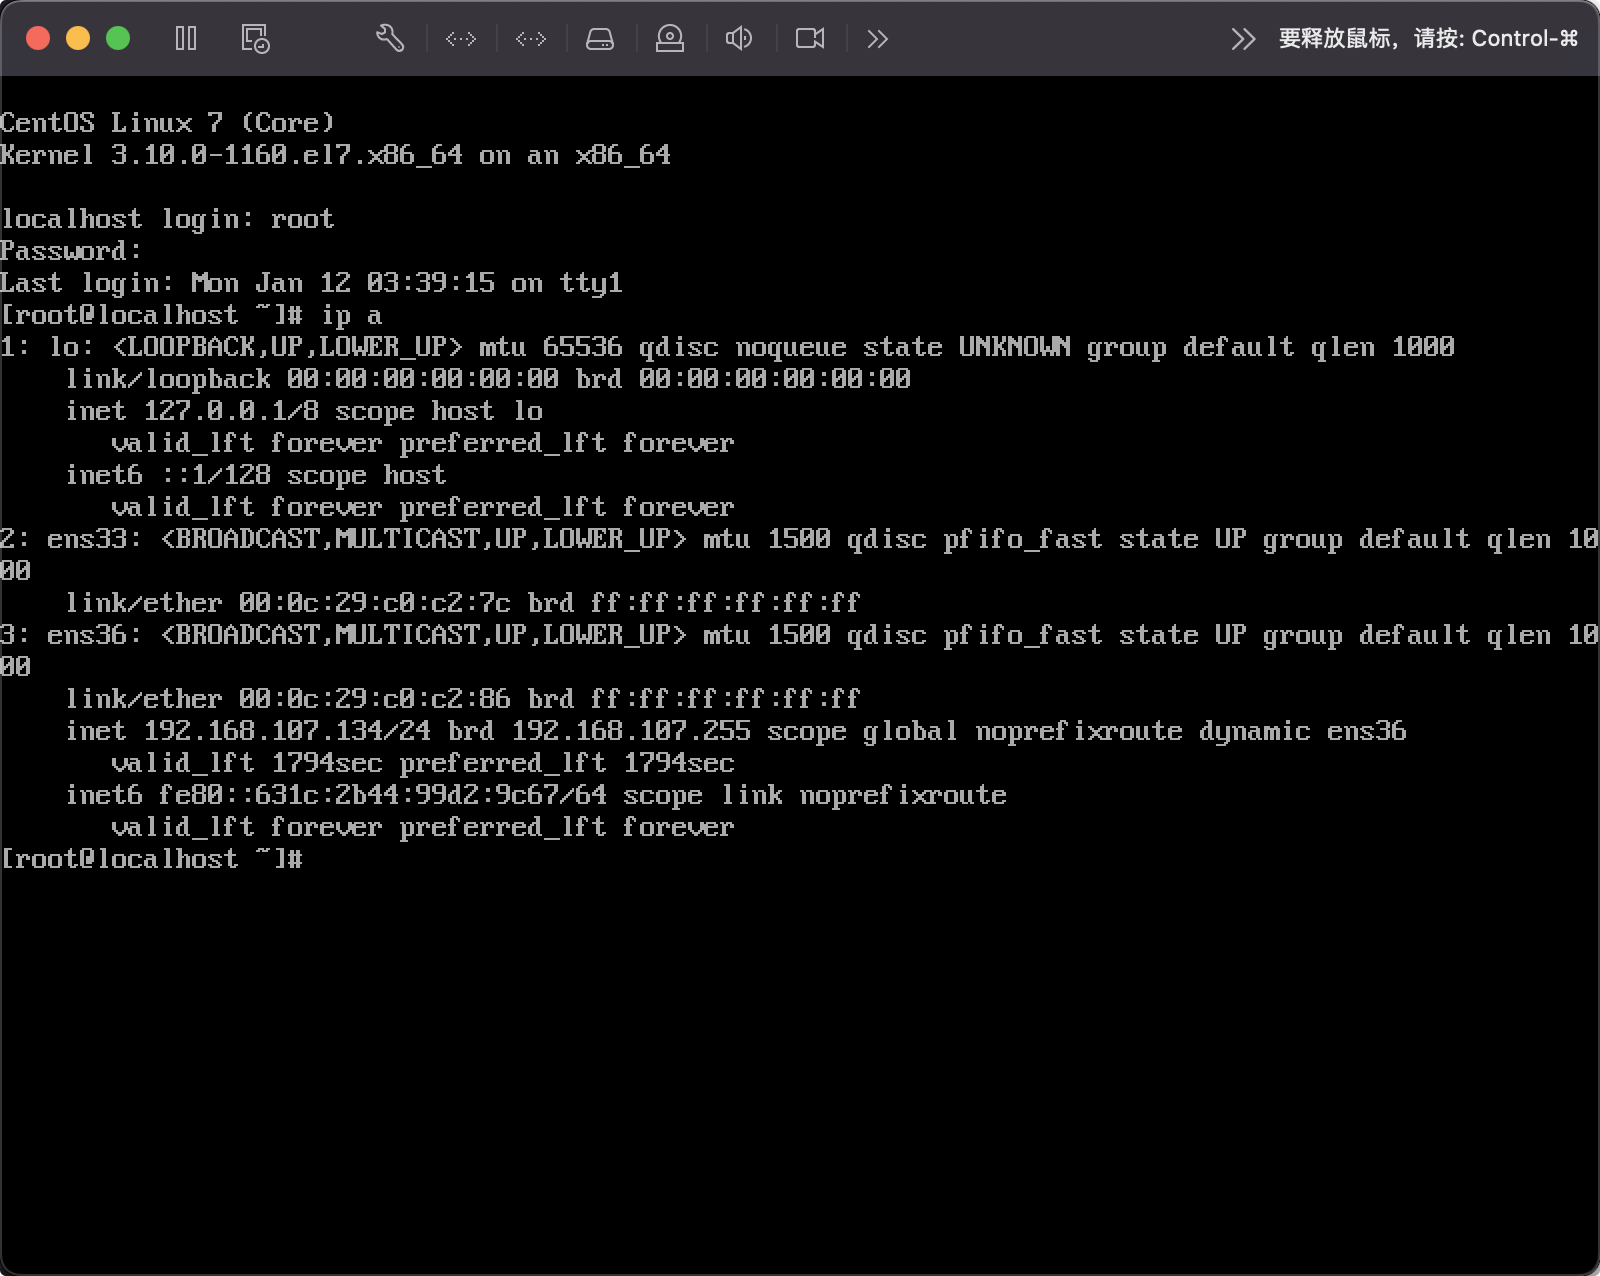
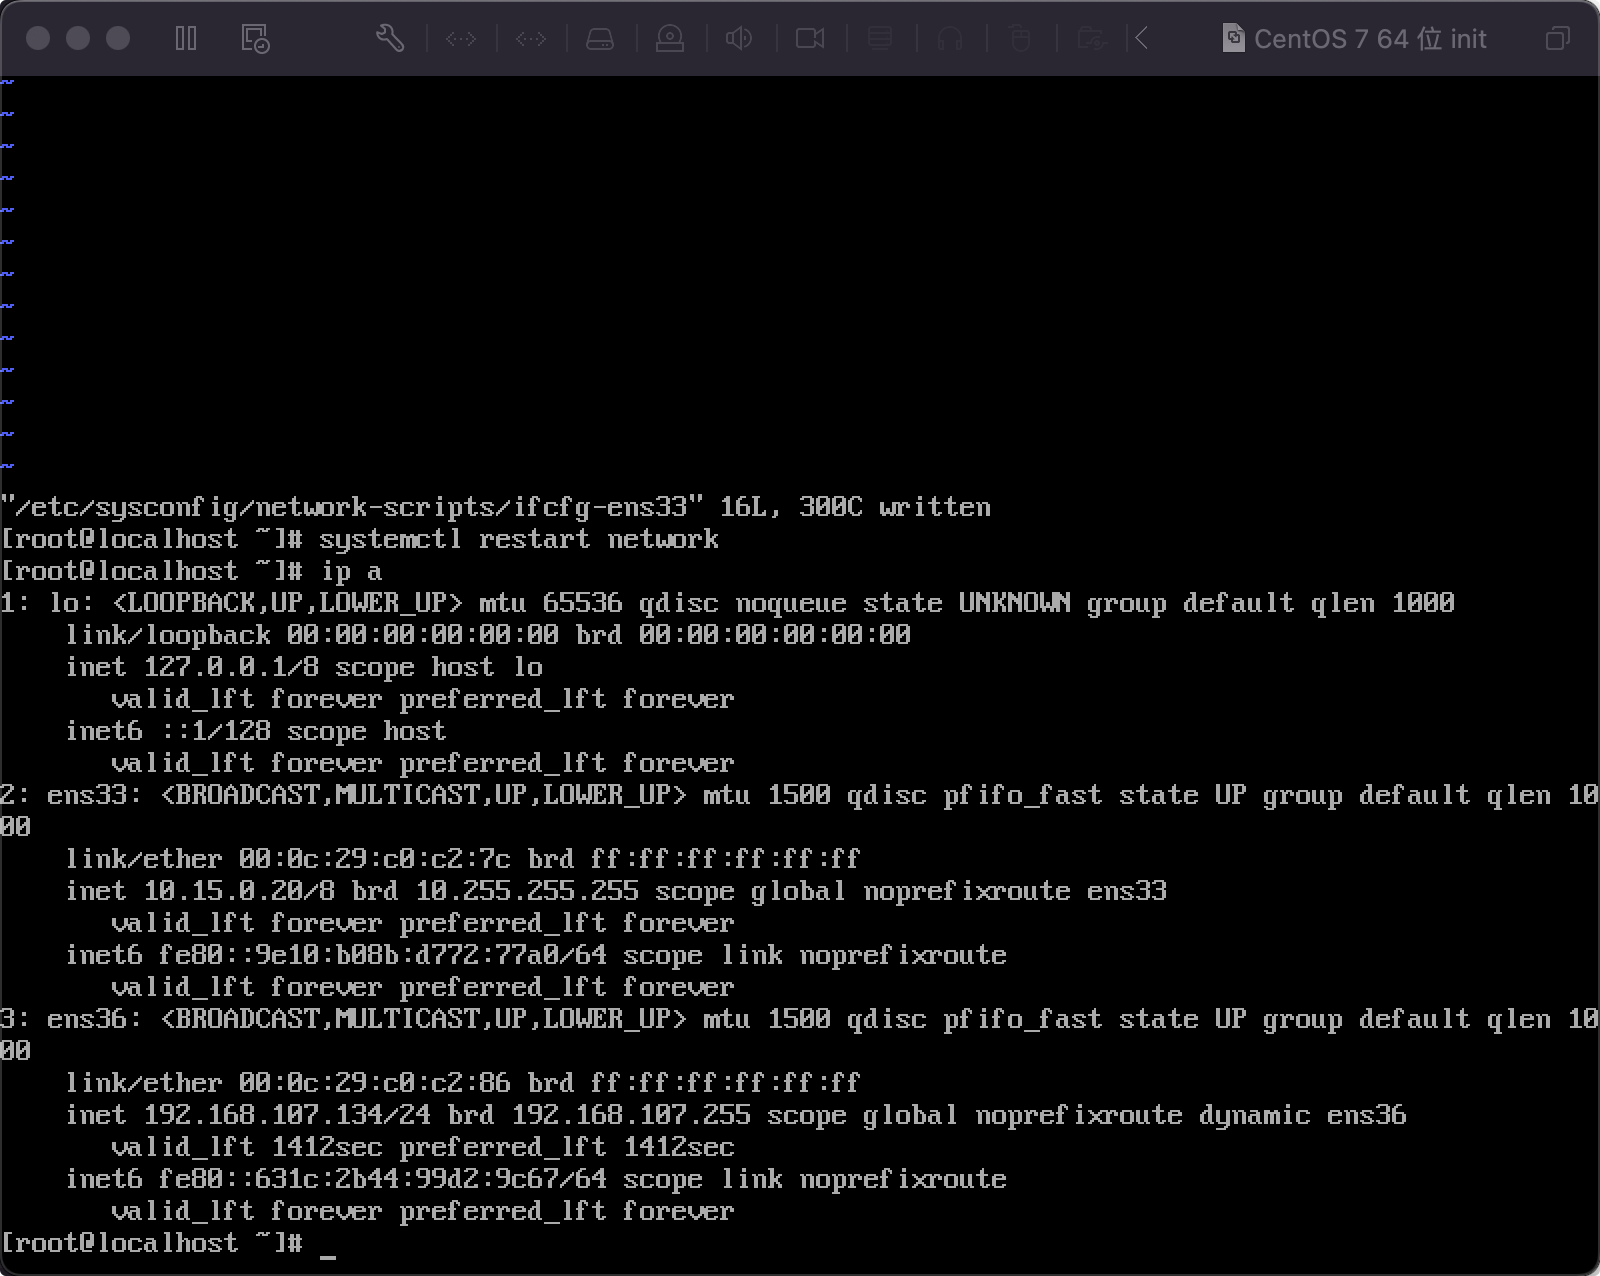
1 | $ ip a |
修改源
1 | $ cat /etc/centos-release |
集群规划
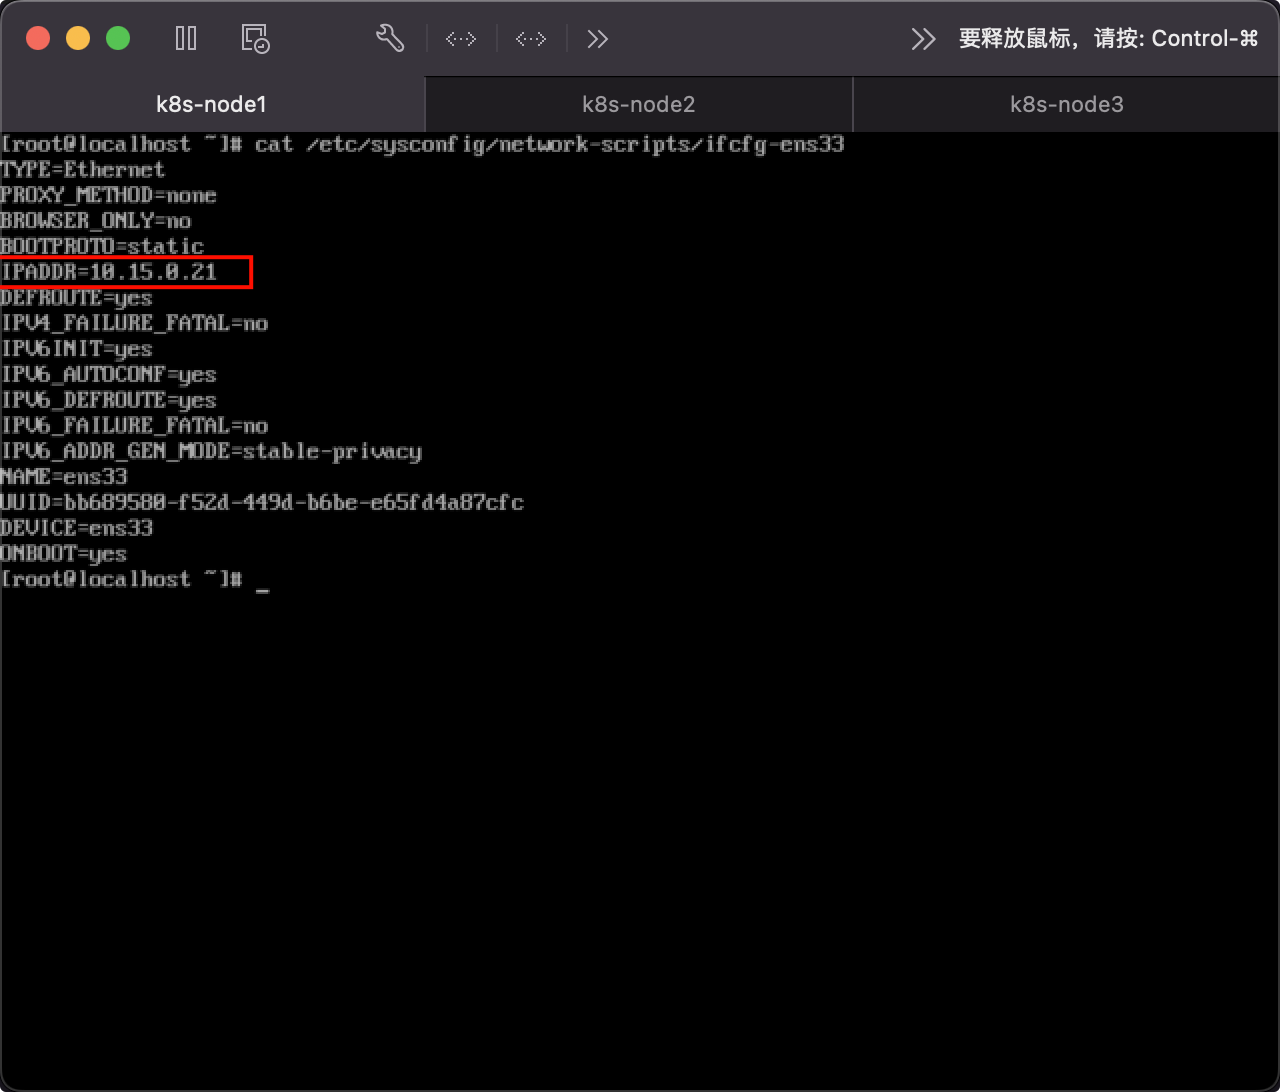
- k8s-node1:10.15.0.21
- k8s-node2:10.15.0.22
- k8s-node3:10.15.0.23
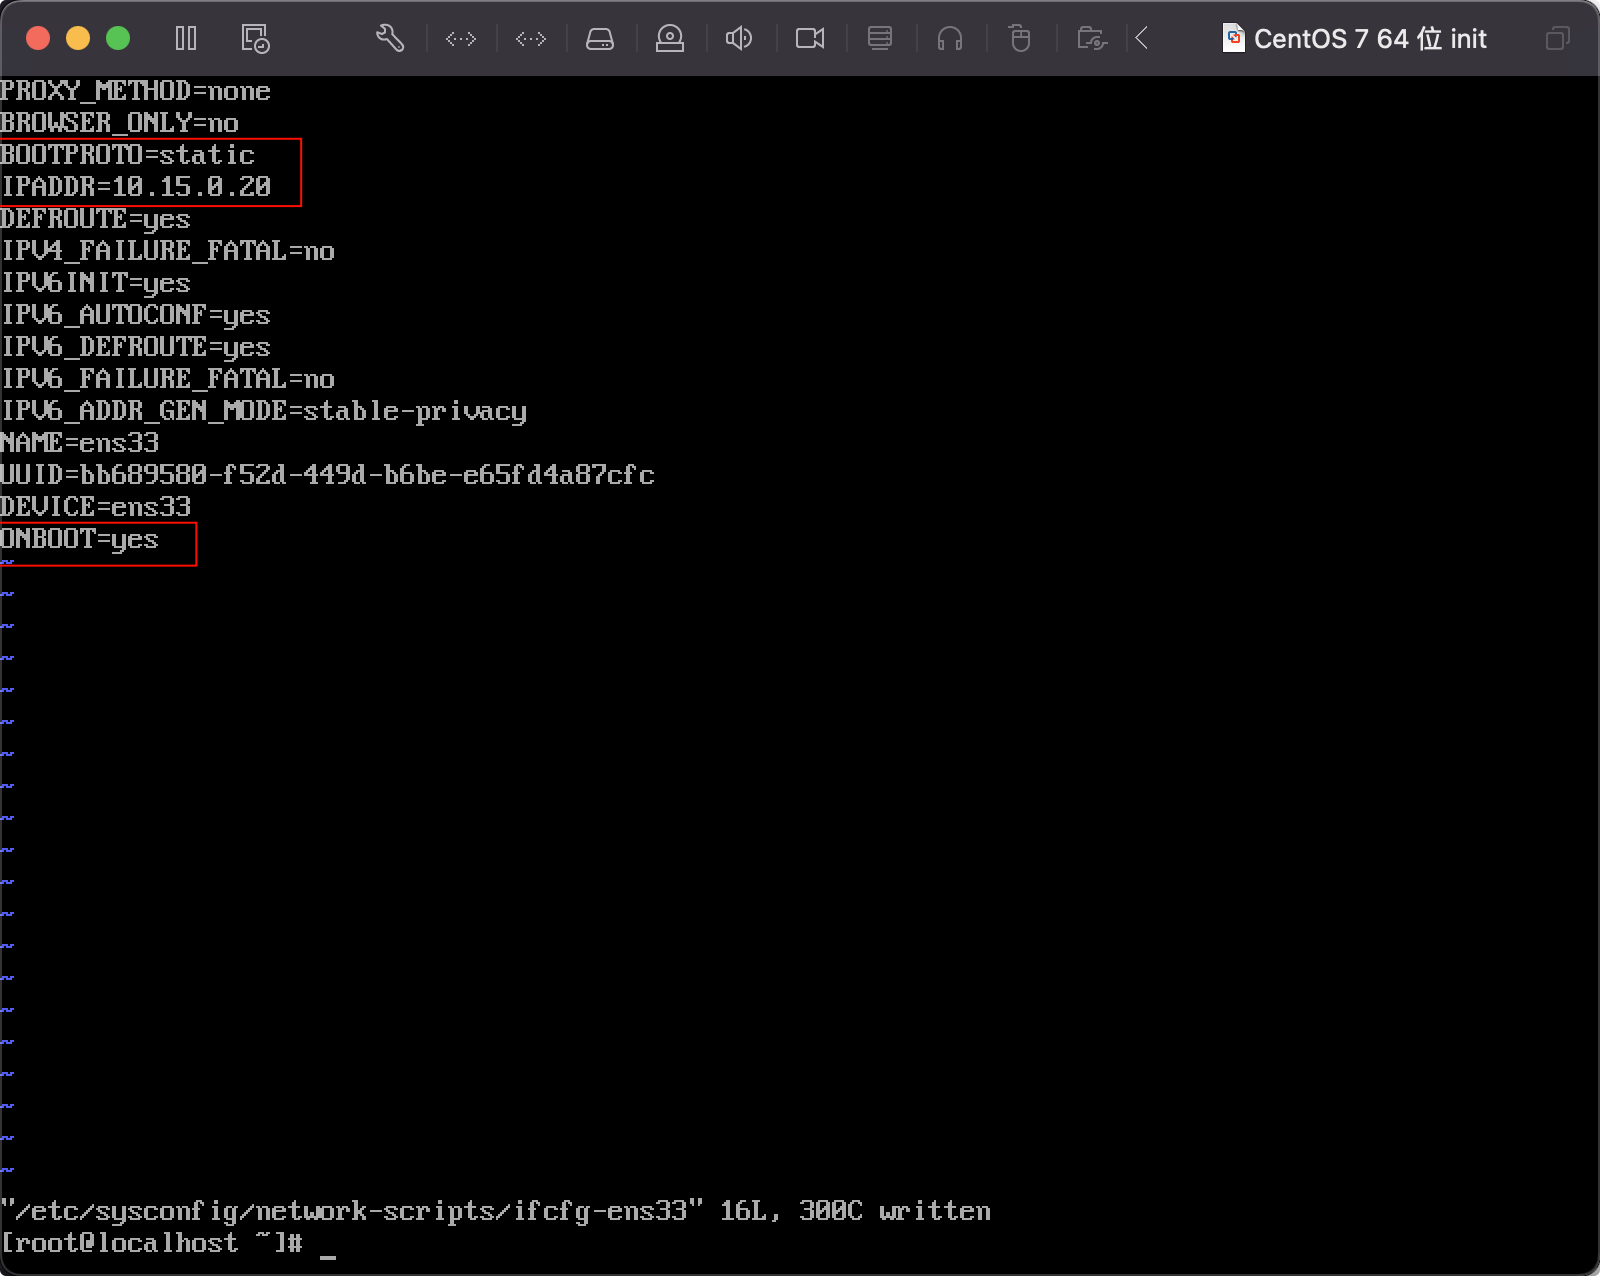
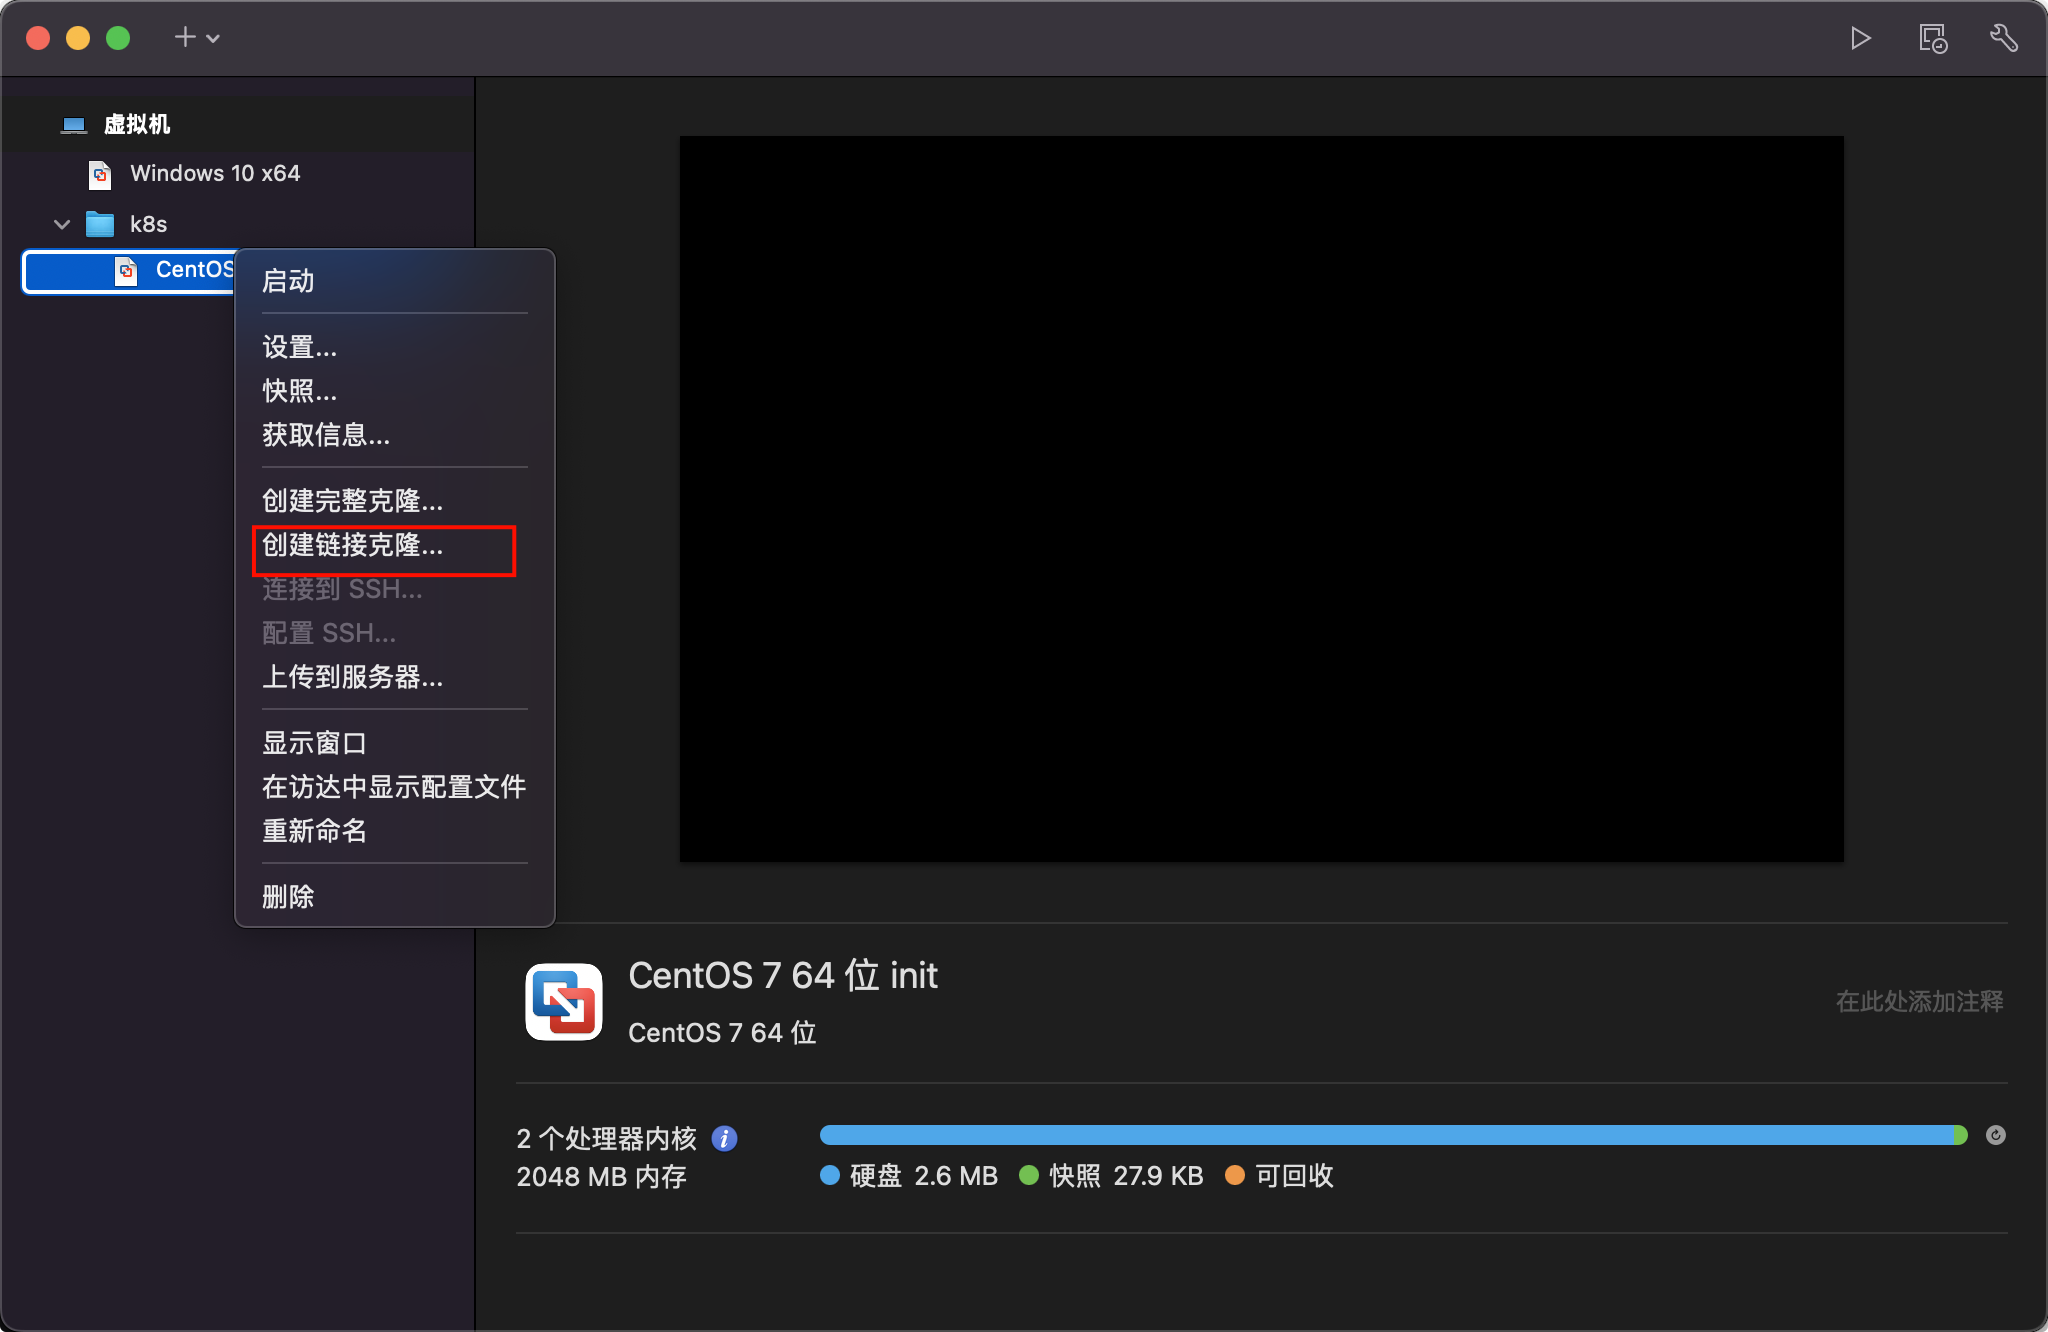
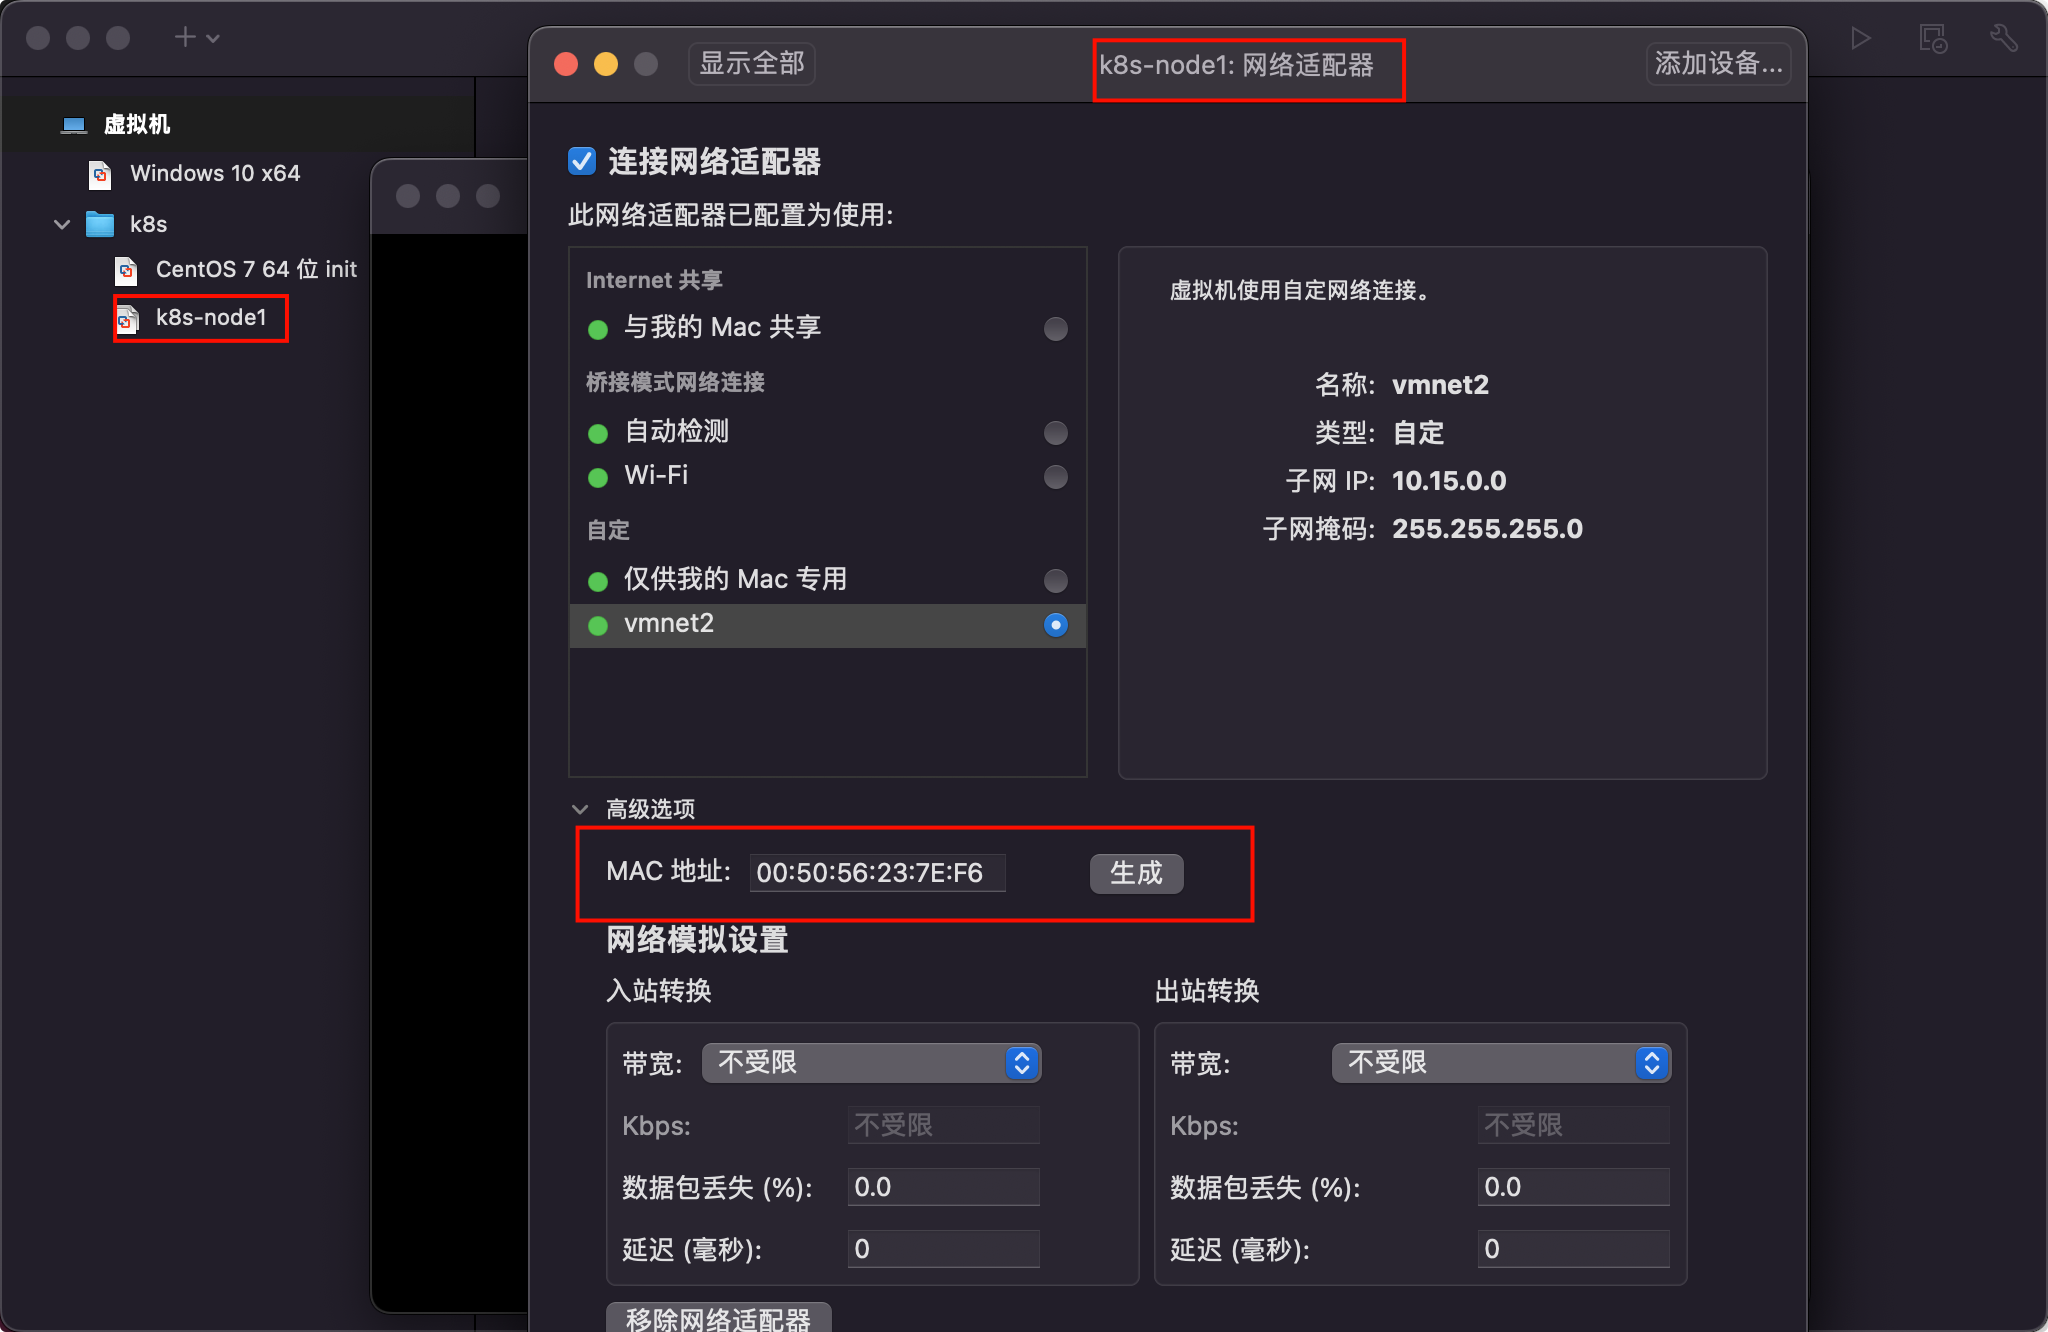
从初始化的系统中克隆三台,克隆的时候需要重新生成MAC地址,并分别修改固定IP。
集群系统基础环境配置
设置主机名
1 | $ hostnamectl set-hostname k8s-node1 |
同步 hosts 文件
如果 DNS 不支持主机名称解析,还需要在每台机器的
/etc/hosts文件中添加主机名和 IP 的对应关系:
1 | cat >> /etc/hosts <<EOF |
关闭防火墙
1 | $ systemctl stop firewalld && systemctl disable firewalld |
关闭 SELINUX
注意: ARM 架构请勿执行,执行会出现 ip 无法获取问题!
1 | $ setenforce 0 && sed -i 's/SELINUX=enforcing/SELINUX=disabled/g' /etc/selinux/config |
关闭 swap 分区
1 | $ swapoff -a && sed -ri 's/.*swap.*/#&/' /etc/fstab |
同步时间
1 | $ yum install ntpdate -y |
安装 containerd
1 | # 安装 yum-config-manager 相关依赖 |
安装 k8s
添加源
- 查看源
1 | $ yum repolist |
- 添加源 x86
1 | $ cat <<EOF > kubernetes.repo |
- 添加源 ARM
1 | $ cat << EOF > kubernetes.repo |
执行安装
1 | # 安装最新版本 |
初始化集群
注意: 初始化 k8s 集群仅仅需要再在 master 节点进行集群初始化!
1 | # 主节点执行 |
配置集群网络
注意: 只在主节点执行即可!
1 | # 创建配置: kube-flannel.yml ,执行 kubectl apply -f kube-flannel.yml |
1 |
|
查看集群状态
1 | # 查看集群节点状态 全部为 Ready 代表集群搭建成功 |
Kubernetes-03-集群搭建